Multi-screen template
Creation of an new multi-screen template
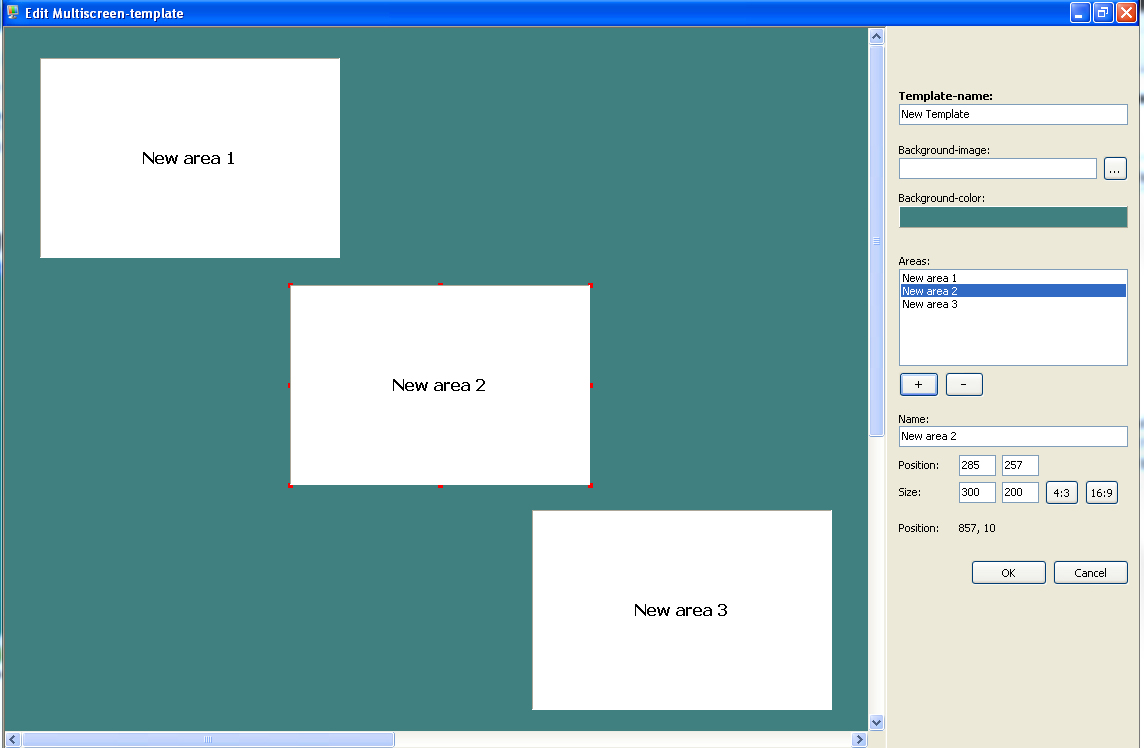
After naming the template you can define a background image or a background colour. It is also possible to define your own background colour, synchronised with your Corporate Design. In “area” you define which files should be shown additionally on the screen and where. With the “plus” button new areas will be added and with the “minus” button they will be deleted. The name - assigned automatically - as well as the position and the size of the area can be adapted. On the left hand side in the preview window, the individual areas can be adjusted by keeping the left mouse button pressed. The size of the area can also be adjusted in the preview window. All you need to do is click on the area and red markings will appear. By keeping the mouse button pressed you can enlarge or diminish. When you are satisfied with the result, confirm with “ok”.
Integration of files in multi-screen template
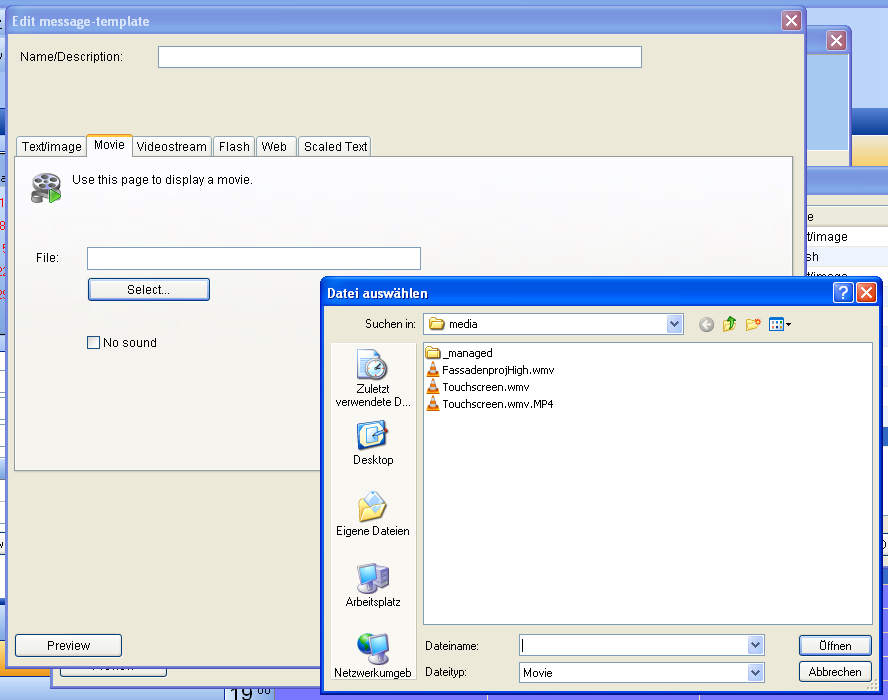
The areas of the chosen template will be shown one below the other. Press the button with the three dots on the right hand side with your mouse. The window “edit message templates” will open up. Choose a file.
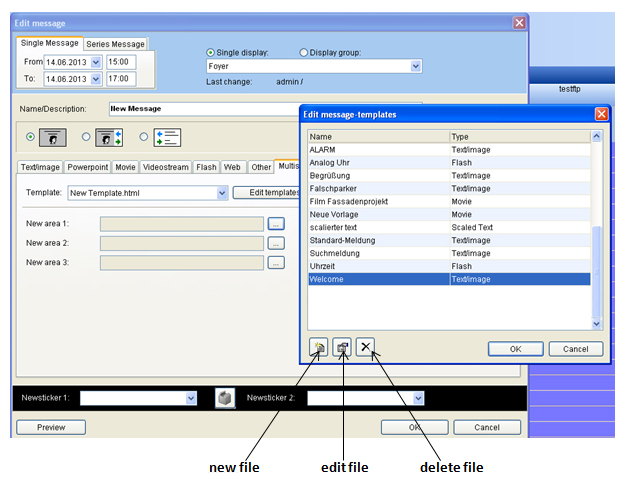
The three buttons below are for adding files to the list, editing or deleting. Once a file has been chosen it cannot be deleted anymore from the areas, it can only be substituted by another file. This is to prevent that an area will remain “empty” by mistake. In case the file will be deleted without replacement, the area has to be deleted from the template.